

When creating a website, one key feature to include is image hyperlinks.
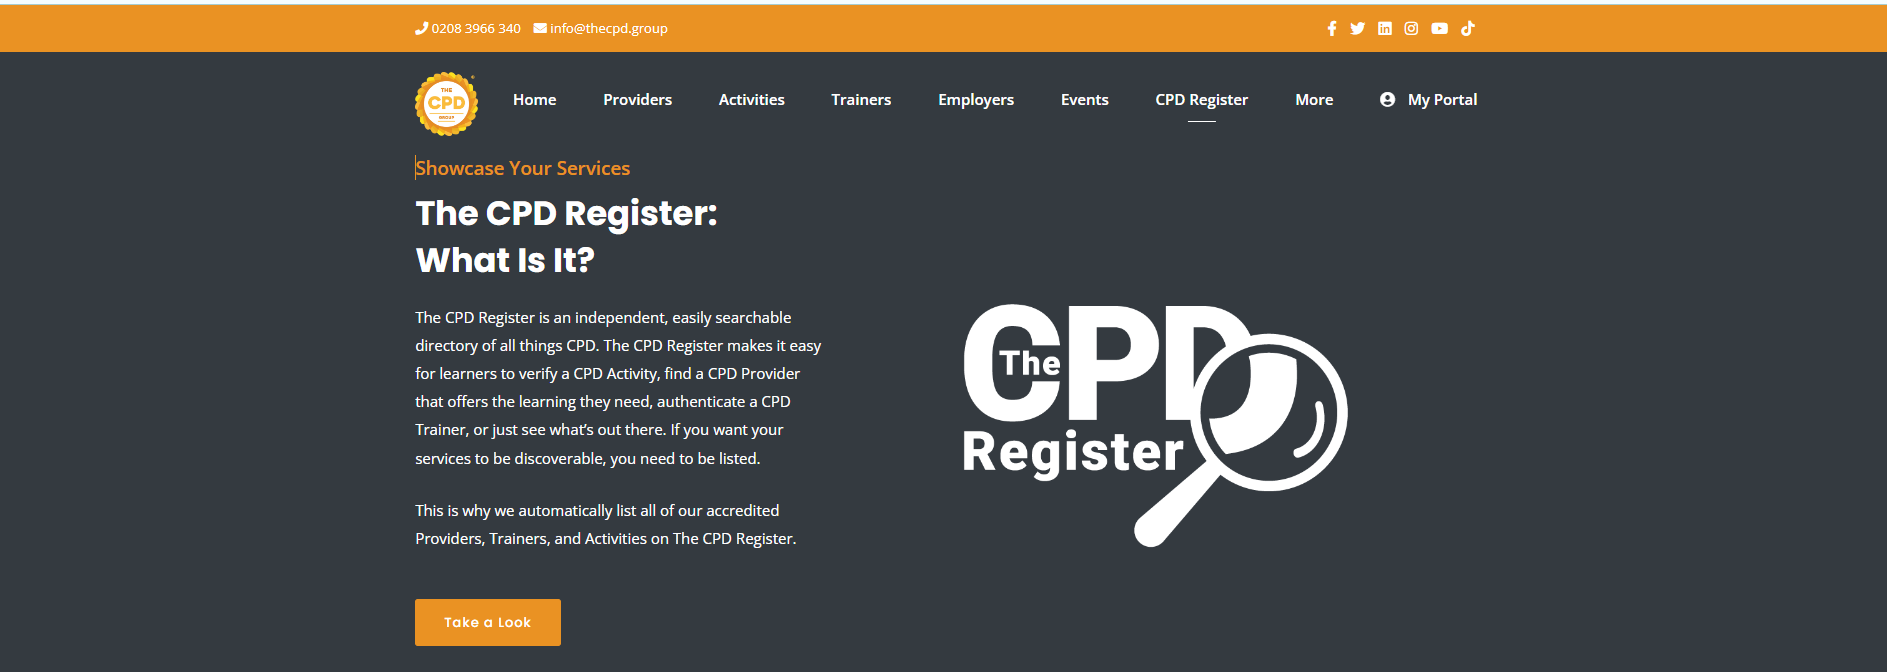
When a potential customer is browsing your website, they’ll expect to be able to navigate easily, and return to your homepage with a single click. Most companies will display their company logo at the top of every page – as you can see on the top left hand corner of our website.
Adding a hyperlink to your logo that links back to your homepage allows your website visitors to return home with one click – instead of having to click the backspace numerous times.
Adding hyperlinks to other images on your website can make it easier for website users to navigate to other pages on your website, or external web pages. For example, if you click on The CPD Register’s logo on this section of our website, you’ll be taken to their website!
But how do you do this on a WordPress website? Continue reading to find out!
How to Add Hyperlinks to Website Images on WordPress: A Step by Step Guide
Step 1) Open the page builder on WordPress
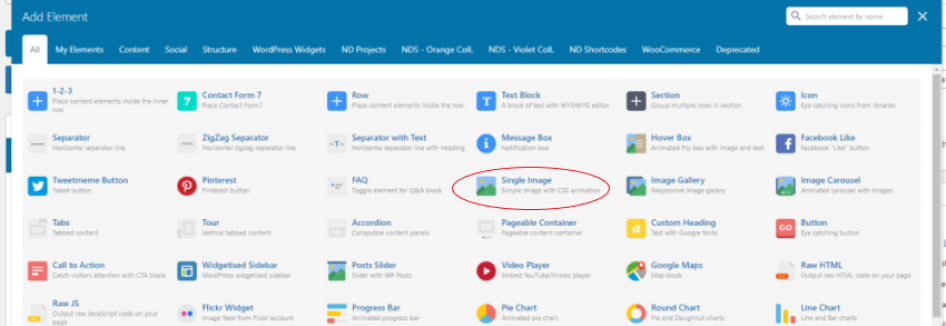
Step 2) Select “Single Image” to add an image to your site, or find the element you would like to add the hyperlink to.
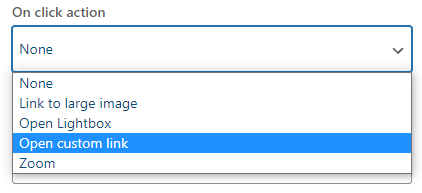
Step 3) Scroll down to the “On Click Action” option and click “Open Custom Link”
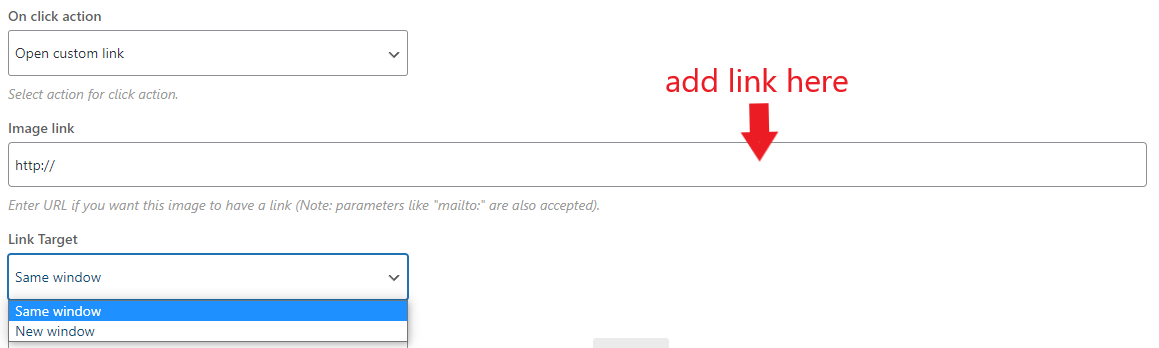
Step 4) You can then add where you would like your image to direct to, and whether the link will open in new window or the same window.
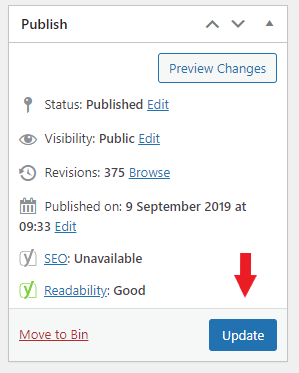
Step 5) Save your changes by clicking “Publish” if you’re creating a new page or “Update” if you’ve edited an existing page.
And that's it! Easy peasy!
But wait...
What if my website is HTML?
If your website has been created using HTML, you’ll want to go to your dashboard, open the html file, find the image source and insert the following code with the relevant information where indicated:
<a href=”https://www.imagehyperlinkdestinationhere.com “> <img src=”your_image_name.gif” alt="image alt text here”
Check out this video for a more in-depth tutorial:
Discussion (0)
Join the conversation and share your insights with our community
Join Our Community
Share your expertise, ask questions, and engage with fellow CPD professionals
Start the Conversation
Be the first to share your thoughts on this article. Your insights could help other professionals in their CPD journey.